To help you optimize images on your WordPress site easily, we went ahead and tested the ShortPixel plugin to show you how this plugin can easily optimize your site’s images
Blogs have evolved more and more in this time and age and creating your own websites is now easier than ever which can be done with few searches here and there and few clicks after you get your very own personalized address in the Internet universe.
But
There are all kinds of ways to help load your website faster.one of them is getting SSL certificate But one of the most important things you can do is optimize your images.
ShortPixel for WordPress.
ShortPixel is one of the many popular WordPress plugins for image compression. and you can easily configure it to work with all types of images used on your website, with no restrictions whatsoever.
The ShortPixel plugin installs directly into your WordPress Dashboard where you can easily manage the image reduction process.
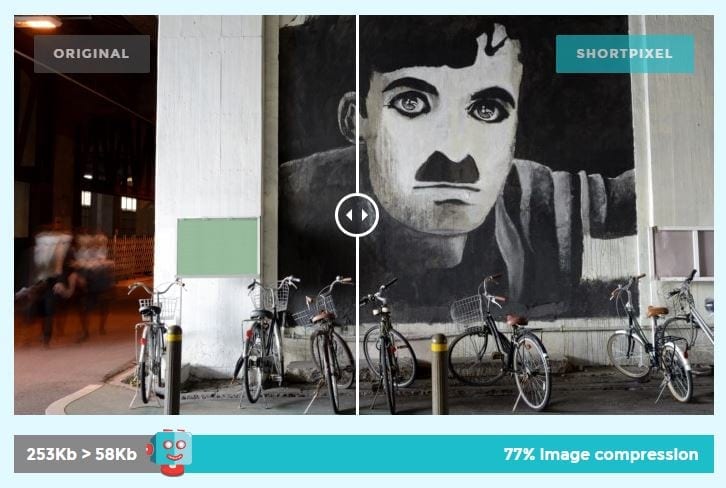
All images will be automatically processed. Configure the ShortPixel plugin to compress past images and optimize your website history.
ShortPixel also lets you choose the extent to which you want to compress your images. There are two main types of compression:
- Lossless: No loss in image quality but only a small reduction in file size.
- Lossy: A much larger reduction in file size, but does have a slight impact on image quality, hence the name lossy.
How to setup ShortPixel on your WordPress website.
Step 1: Install and activate the ShortPixel plugin from here
Step 2: Request your ShortPixel API key
Enter your email and register the account for the plugin to work. Next, go to Settings → ShortPixel.
Enter your email in the Request an API Key box and click Request Key
Step 3: Configure and setup the plugin.
Once you add your API key, you should configure a few settings before you start using the plugin.
First, it’s important to choose your Compression type. This lets you tell ShortPixel how aggressively you want it to compress your images. Most of the time, you can use the default Lossy setting.
But if you’re displaying posts where quality is essential (like a photography blog), you might want to choose one of the less a

you can configure more things in Advanced tab
Here, you can set up options to do things like:
- Convert PNG images to JPEG: Converts all PNGs that don’t have transparent pixels to JPEG. This can dramatically reduce the file size, especially if you have camera pictures that are saved in PNG format.
- Use WebP images: WebP images can be up to three times smaller than PNGs and 25% smaller than JPGs.
- Optimize Retina images
- Automatically exclude certain images from being optimized
If you are using Cloudflare API with your website you can configure the same in the Cloudflare tab so that ShortPixel can work seamlessly with it.

Once you finish configuring the plugin, ShortPixel will automatically start optimizing any new images that you upload to your media library. If you want to bulk optimize older images on your site, you can go to Media → Bulk ShortPixel.
Pricing and Plans
there are 3 kinds of plans available along with Free plan of 100 images/month.
- Monthly Plans
- One-Time Plans
- Dedicated Compression Servers
For occasional (bloggers), 100 free images/month is a decent number. For serious bloggers, buying a monthly or even a one-time package is a good choice. We do not have much idea on the dedicated servers but that option seems more like for enterprise.
Final Thoughts
There are many other players on WordPress for the same purpose of compressing images but ShortPixel is the best and -the simplest one yet.it also provides testing on their sites for compressing individual images and pdf. they also provide many other API tools to optimize your website.
Following are few other points for using ShortPixel
- Option to automatically convert PNG to JPG if that will result in smaller images. Ideal for large images in PNG format.
- No file size limit
- Option to freely convert any JPEG, PNG, or GIF (even animated ones!) to WebP for more Google love. How to enable WebP?
- Featured images can be automatically resized before being optimized with 2 different options. No need for additional plugins like
Imsanity - Great for photographers: keep or remove EXIF data from your images, compress images with a lossless option.
- You can run ShortPixel plugin on multiple websites or on a multisite with a single API Key.
- Skip already optimized images.
- Compatible with watermarking plugins.
- Option to deactivate auto-optimizing images on upload.
- Images that are optimized less than 5% are a bonus.
For Full Setup Instructions, you can watch the following video from ShortPixel
original content from ShortPixel


